How to Grow Tulips
Tulips are one of the most beloved and iconic spring flowers, known for their vibrant colors and elegant blooms. With a wide range of colors and varieties to choose from, growing tulips in your garden can add a burst of beauty and charm to your landscape. In this comprehensive guide, we will take you through the step-by-step process of growing tulips, from planting to caring for them, and even how to enjoy their blooms in floral arrangements.
Step 1: Choosing the Right Tulip Bulbs
Selecting high-quality tulip bulbs is essential for a successful tulip garden. Here’s what you need to consider when choosing tulip bulbs:
- Bulb size: Look for bulbs that are firm, plump, and large in size, as these tend to produce bigger and healthier flowers.
- Bulb variety: There are many different types of tulip bulbs, such as early, mid, and late-season tulips, as well as single-flowered, double-flowered, and fringed varieties. Choose the type of tulip that suits your desired bloom time and aesthetic preferences.
- Bulb condition: Avoid bulbs that are soft, moldy, or have visible signs of disease or damage. Healthy bulbs should be clean, free from any blemishes, and have an intact outer layer.
Step 2: Planting Tulip Bulbs
Tulips are typically planted in the fall, about 6-8 weeks before the first hard frost in your area. Follow these steps to plant tulip bulbs:
- Choose a sunny spot: Tulips thrive in full sun, so select a location in your garden that receives at least 6 hours of direct sunlight per day.
- Prepare the soil: Tulips prefer well-draining soil with a pH level of 6-7. Loosen the soil to a depth of 12-15 inches and remove any weeds, rocks, or debris.
- Plant the bulbs: Dig a hole that is 6-8 inches deep, and place the tulip bulbs with the pointed end facing up. Space the bulbs about 4-6 inches apart, allowing enough room for them to grow and spread.
- Cover and water: Fill the hole with soil, gently pressing it down to eliminate air pockets. Water the bulbs thoroughly after planting to help them settle in the soil.
- Mulch: Mulch the planting area with a layer of straw, shredded leaves, or wood chips to insulate the soil and protect the bulbs from extreme temperatures during winter.
Step 3: Caring for Tulips
Once your tulips are planted, they require some basic care to thrive. Here are some tips for caring for your tulips:
- Watering: Tulips need regular watering during their active growing period in the spring. Water them deeply once a week, or more frequently during dry spells, keeping the soil consistently moist but not waterlogged.
- Fertilizing: Tulips benefit from a balanced fertilizer applied in the fall and early spring. Use a slow-release granular fertilizer or a bulb-specific fertilizer, following the package instructions for application rates.
- Pest and disease control: Keep an eye out for common tulip pests such as aphids, slugs, and deer, and take appropriate measures to control them. Tulips are generally not susceptible to diseases, but if you notice any signs of disease, such as yellowing leaves or wilting, remove and dispose of the affected foliage to prevent further spread.
Step 4: Harvesting Tulips
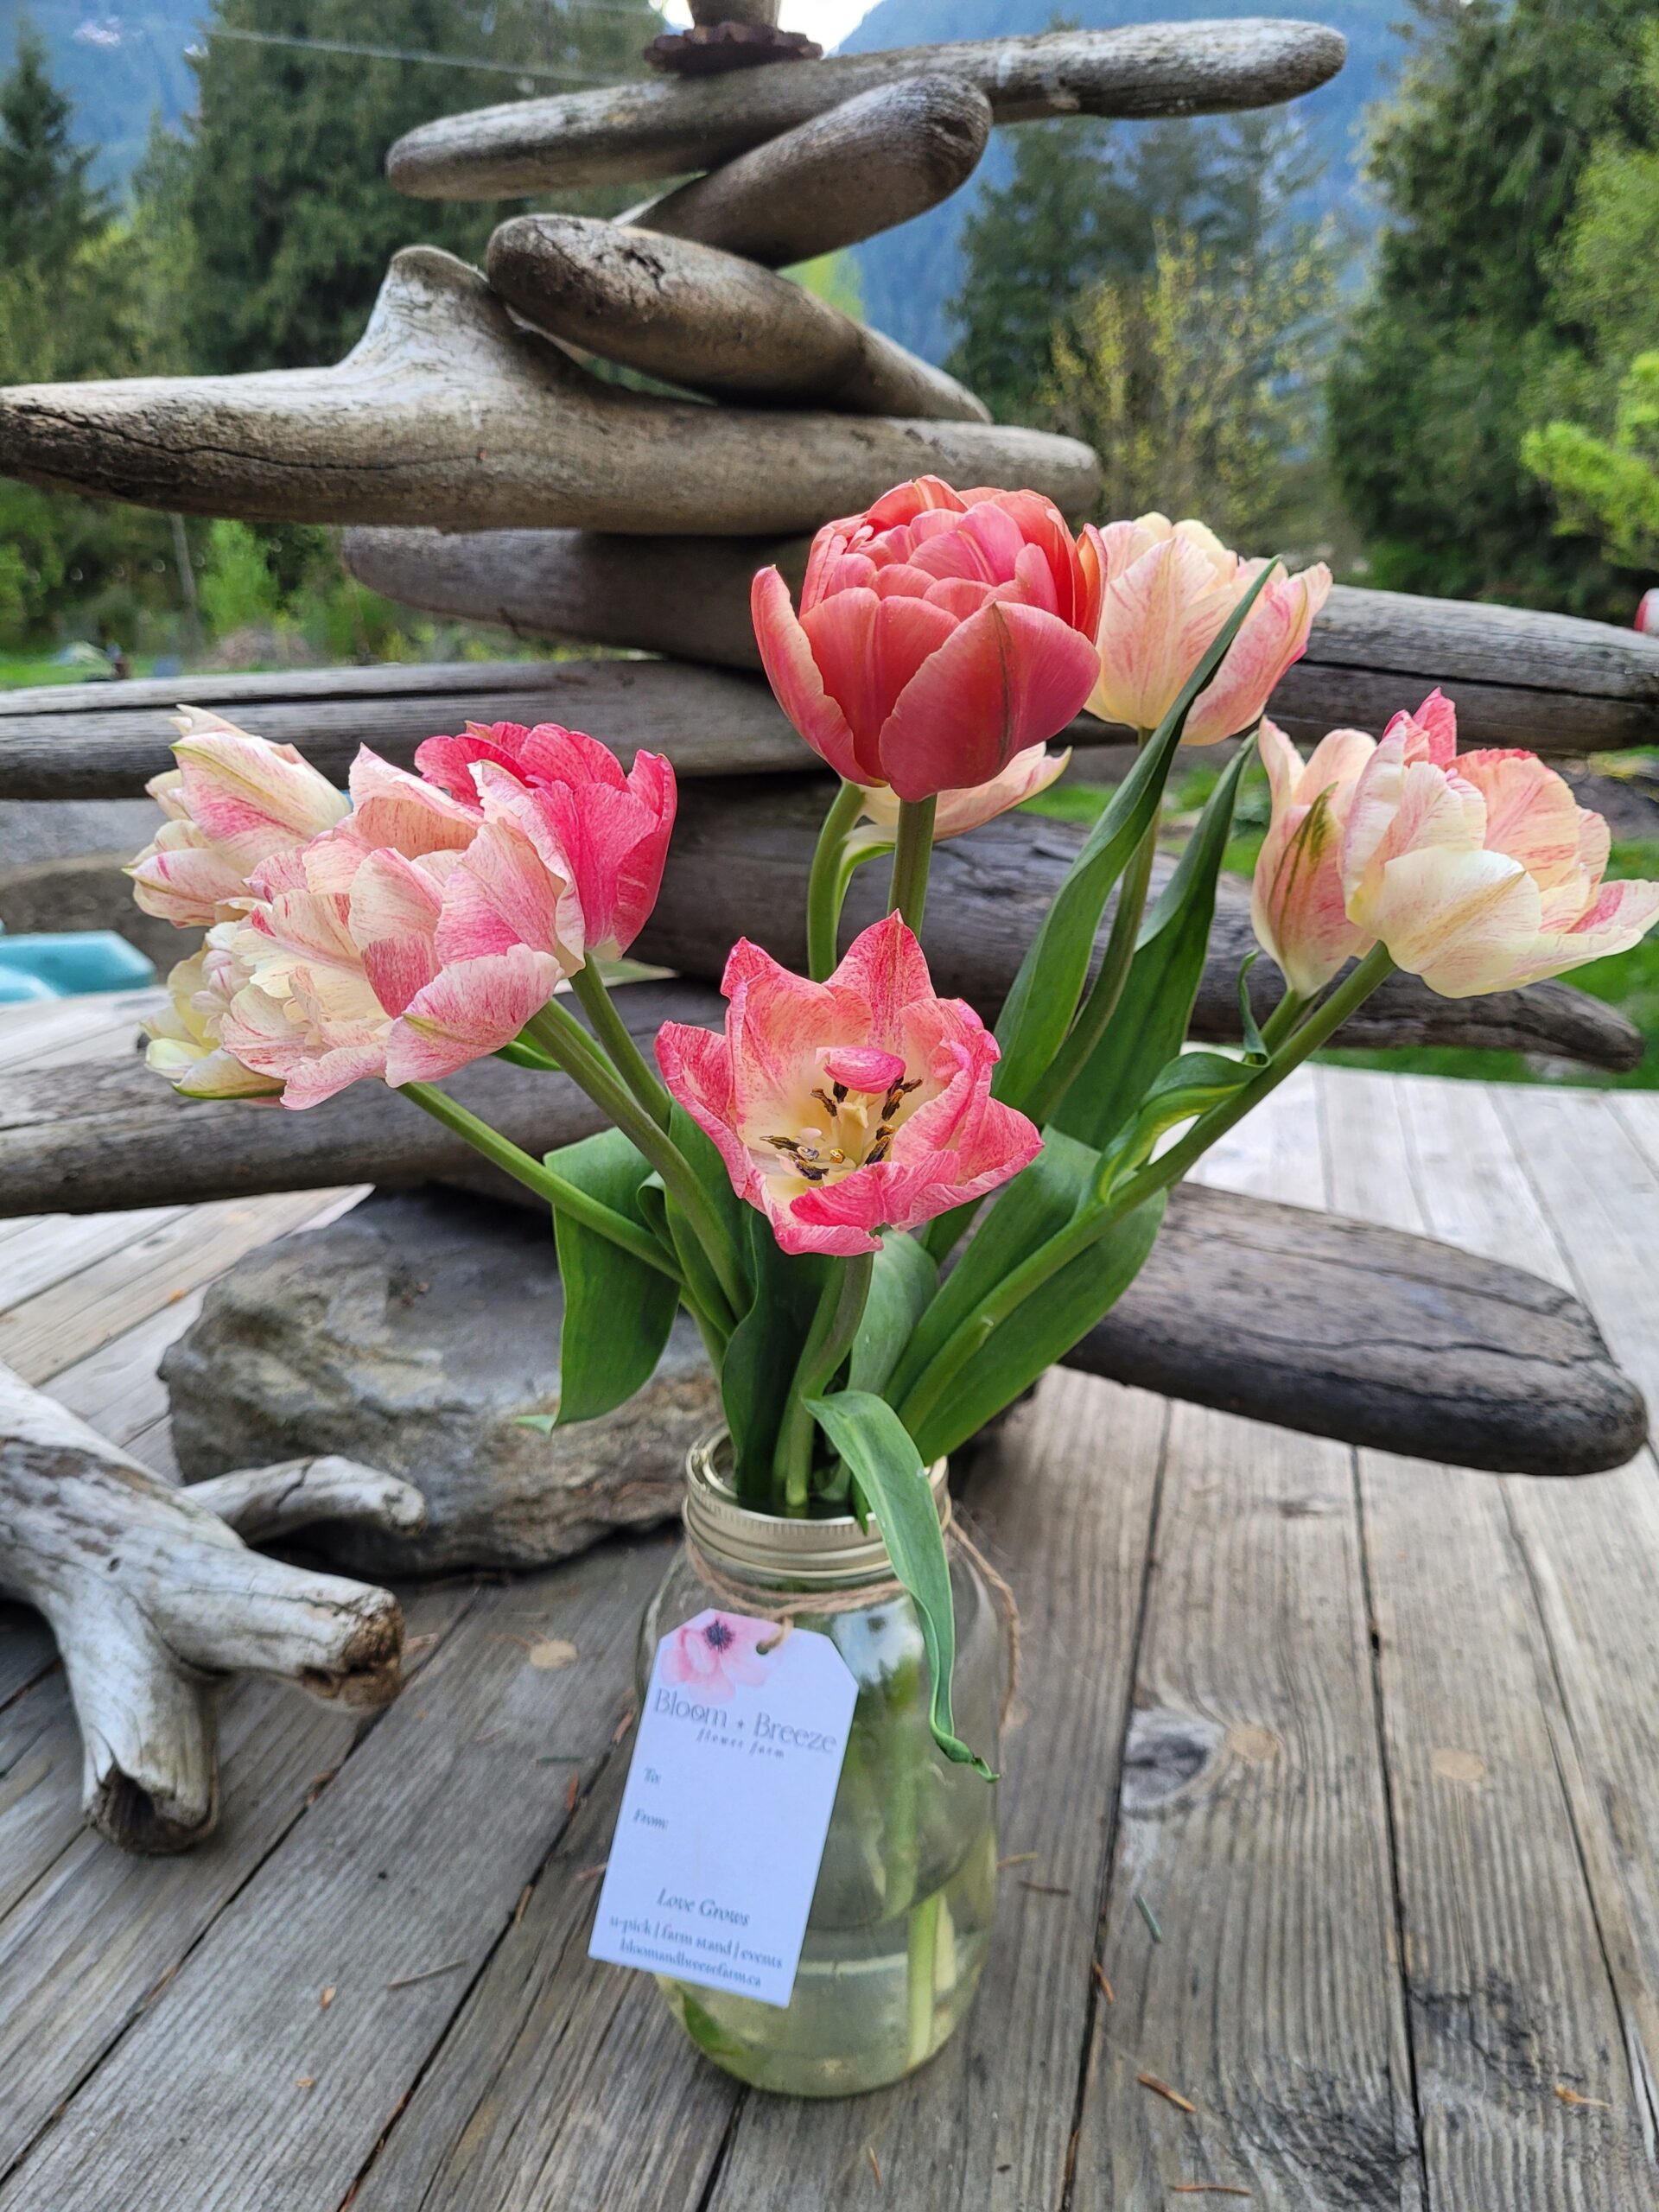
Once your tulips are in full bloom, you can enjoy their beauty in your garden or cut them for stunning floral arrangements. Here’s how to harvest tulips:
- Choose the right time: The best time to harvest tulips is in the early morning or late afternoon when the flowers are fully open and the stems are turgid. Avoid harvesting during the heat of the day or when the flowers are wilted.
- Use sharp scissors or pruning shears: Cut the tulip stem at a 45-degree angle just above the foliage, leaving about 4-6 inches of stem attached to the flower. Avoid pulling or twisting the stems, as this can damage the bulb or the plant.
- Place in water immediately: As soon as you cut the tulips, place them in a bucket or vase filled with clean water. Remove any leaves that will be submerged in the water to prevent bacterial growth.
- Conditioning: To help your tulips last longer in a vase, you can condition them by recutting the stems under water and allowing them to hydrate for a few hours before arranging them in a vase with fresh water.
With their striking colors and elegant blooms, tulips are a stunning addition to any garden. By following the steps outlined in this guide, you can successfully grow tulips in your own garden and enjoy their beauty year after year. From choosing the right bulbs to planting, caring, and harvesting, these tips will help you achieve a spectacular display of tulip flowers. Happy gardening and enjoy your gorgeous tulip blooms!