How to Grow Dahlias
Step 1: Choose Your Favourite Varieties
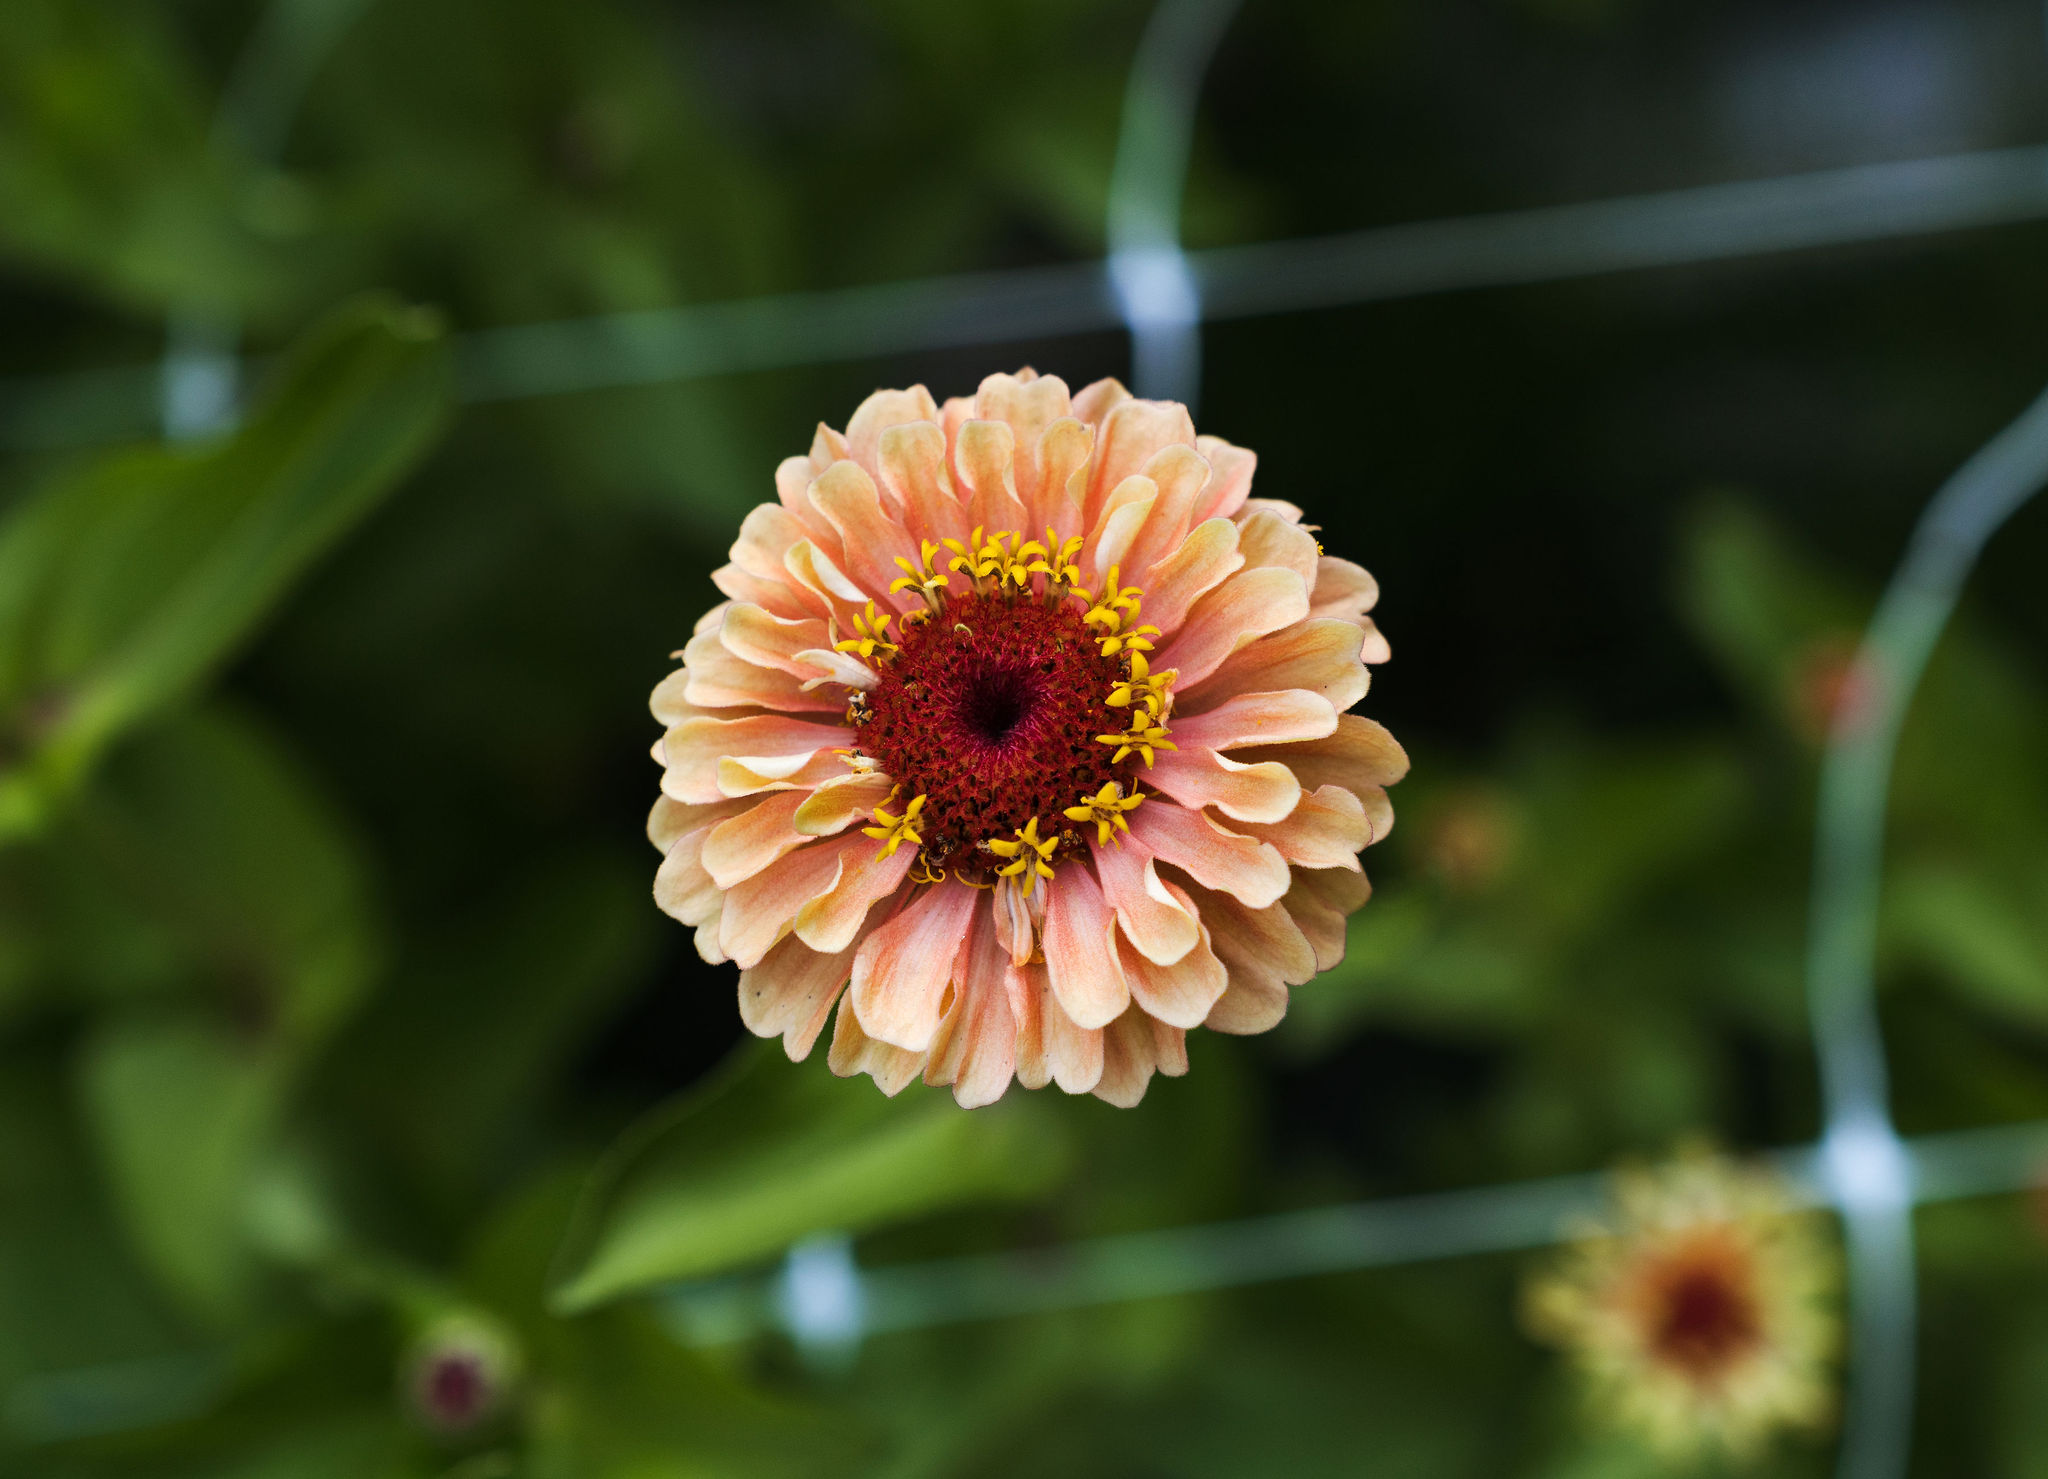
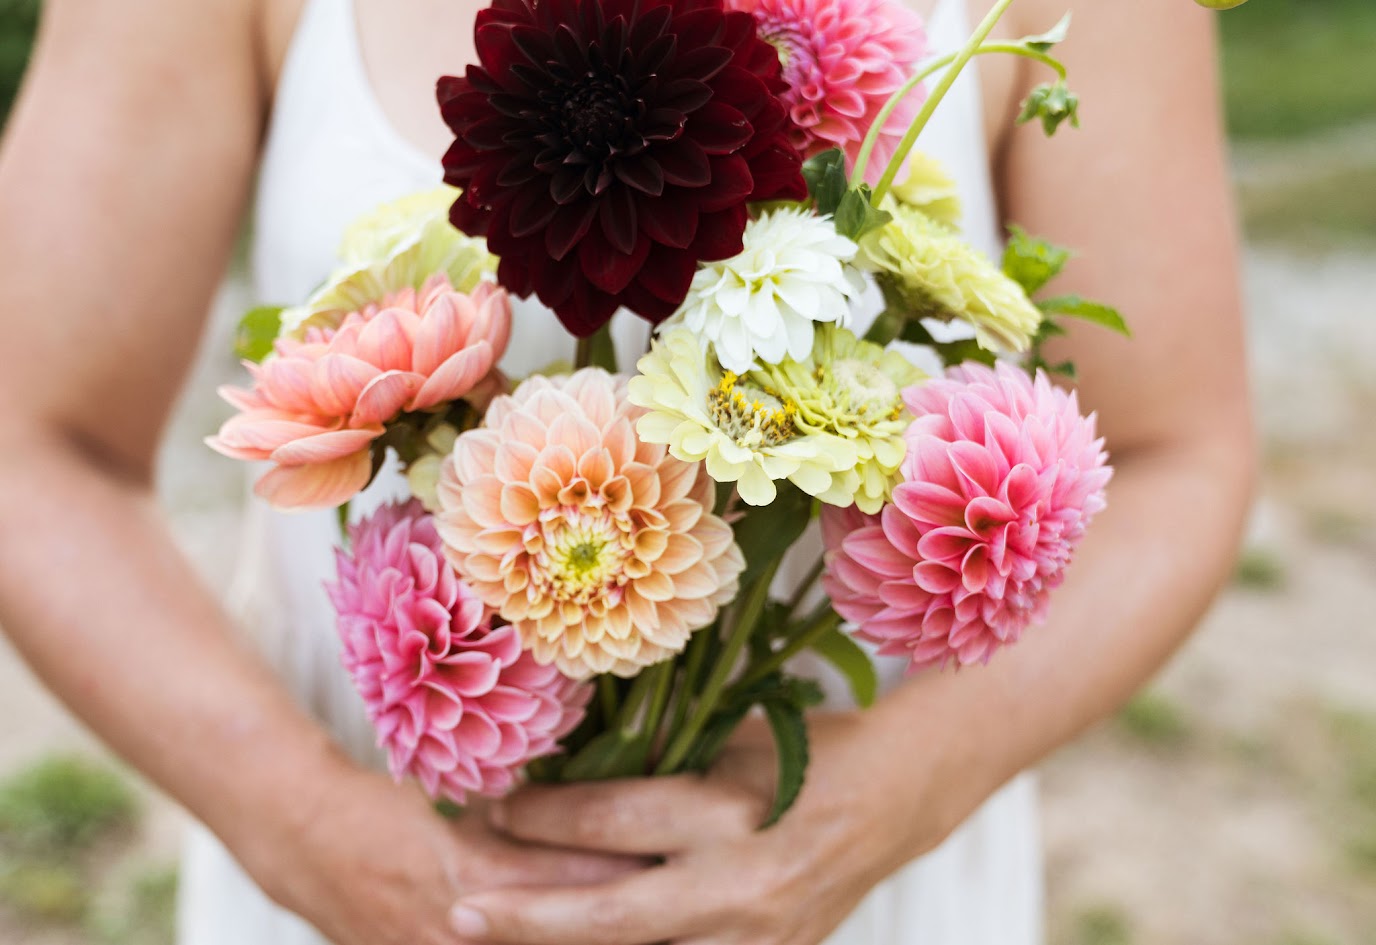
Dahlias come in various sizes, colors, and shapes, so you’ll need to decide what type of dahlia you want to grow. Some popular varieties include the Dinnerplate dahlias, which have large, showy flowers, and the Ball dahlias, which have small, round flowers. Other options include Cactus dahlias with spiky petals, and Pompon dahlias with small, compact flowers.
Choose a variety that suits your garden’s size, style, and color scheme. With so much to choose from, you’re guaranteed to find a dahlia or ten that you will fall in love with. The dahlia craze is real, so source out local growers and check out their tuber availability in advance so you can get in on their sales. Dahlias from the box stores also offer great options. Or you can find seeds if you’re open to seeing what surprise varieties the seeds will offer.
Step 2: Gather Your Materials
To grow dahlias, you’ll need a few basic materials. Here’s a list of what you’ll need:
- Dahlia tubers or seeds: You can grow Dahlias from tubers or seeds. You can purchase them from a local nursery or online.
- Well-draining soil: Dahlias prefer loamy soil that is rich in organic matter. Make sure the soil is well-draining to prevent waterlogging.
- Garden tools: You’ll need a spade or a fork for digging, a trowel for planting, and a pair of pruners for trimming.
- Plant stakes: Dahlias can grow tall and may need support, so have some plant stakes ready to provide support as they grow.
- Mulch: Mulch will help retain moisture in the soil and suppress weeds.
- Watering can or hose: You’ll need a reliable water source to keep your dahlias hydrated.
Step 3: Planting Dahlias
Dahlias are planted in the spring after the last frost has passed. Follow these steps to plant your dahlia tubers:
- Choose a sunny spot: Dahlias love sunlight, so choose a spot in your garden that receives at least 6 hours of direct sunlight per day.
- Prepare the soil: Loosen the soil to a depth of about 12 inches and mix in some compost or well-rotted manure to enrich the soil.
- Dig holes: Dig holes that are about 6-8 inches deep and spaced about 18-24 inches apart, depending on the size of your dahlia variety.
- Plant the tubers: Place the dahlia tubers in the holes with the “eye” or the growing point facing up. Cover the tubers with soil, leaving about an inch of space above them.
- Water thoroughly: Water the tubers immediately after planting to help settle the soil and provide them with moisture.
- Add stakes: If you’re growing tall varieties, insert a stake near each tuber to provide support as the plants grow.
- Mulch the soil: Cover the soil with a layer of mulch to help retain moisture and suppress weeds.
Step 4: Pinching Dahlias for More Flowers
Pinching is a technique used to encourage bushier growth and more flowers in dahlias. It involves removing the growing tips of the plants when they reach a certain height. Here’s how to pinch your dahlias:
- Wait for the plants to grow: Allow your dahlias to grow to a height of about 12-18 inches or when they have developed at least 3-4 sets of leaves.
- Pinch the tips: Using your fingers or a pair of pruners, pinch off the top inch or two of the main stem, just above a set of leaves. This will encourage the plant to branch out and produce more lateral stems, resulting in a bushier plant with more flowers.
Step 5: Care for Your Dahlias
Once your dahlias are planted, it’s important to care for them properly to ensure healthy growth and abundant blooms. Here are some care tips for your dahlias:
- Water regularly: Dahlias need regular watering, especially during dry spells. Keep the soil evenly moist, but not waterlogged, as dahlias don’t like sitting in wet soil. Water at the base of the plant to avoid getting water on the foliage, which can lead to diseases.
- Deadhead or harvest regularly: The more you pick ,the more blooms you will have.
Step 6: Harvesting Dahlias
The best part of growing dahlias is enjoying the beautiful blooms! Here’s how to harvest dahlias for floral arrangements or to simply enjoy in your home:
- Choose the right time: Dahlias are usually ready for harvest when the flowers are fully open and the colors are vibrant. Avoid harvesting them when they are in the bud stage or when the petals are still tightly closed.
- Use sharp pruners: Use a pair of sharp pruners or scissors to cut the stems of the flowers. Cut the stems at an angle just above a set of leaves or lateral buds to encourage more growth. Cut deep
- Remove foliage: Remove any foliage that will be submerged in water to prevent it from decaying and causing the water to become dirty.
- Place in water: Immediately after cutting, place the dahlias in a vase of clean water. Change the water every couple of days and trim the stems at an angle every few days to help them stay fresh longer.
- Enjoy your dahlias: Arrange your dahlias in a vase and place them in a prominent spot in your home to enjoy their stunning beauty and fragrance.
Step 7: Overwintering Dahlias
Dahlias are not cold-hardy, so in regions with harsh winters, you’ll need to take steps to overwinter them and protect them from frost. Here’s how to overwinter dahlias:
- Dig up the tubers: After the first frost, carefully dig up the dahlia tubers using a fork or spade, being careful not to damage them.
- Clean and dry the tubers: Gently remove the soil from the tubers and let them dry in a well-ventilated area for a few days.
- Store the tubers: Once the tubers are completely dry, store them in a cool, dry place, such as a basement or a garage, in a box or a paper bag filled with peat moss or sawdust to keep them from drying out.
- Check periodically: Check on the tubers throughout the winter to make sure they are not rotting or drying out. Mist them lightly with water if they appear to be drying out.
Common Dahlia Growing Mistakes (and How to Avoid Them)
Even though dahlias are pretty forgiving, there are a few common mistakes that can impact their growth and blooms. Here’s what to watch for:
Planting Tubers Vertically
Always plant dahlia tubers lying flat (horizontally), with the eye or sprout facing up. Planting them vertically can cause poor sprouting or even rot.
Overwatering Before Sprouts Appear
Dahlias don’t like to sit in wet soil — especially before they’ve sprouted. Hold back on watering until green growth breaks through the soil surface. After that, water deeply a couple of times a week.
Poor Drainage
If your soil stays heavy and wet, your tubers are at risk of rotting. Dahlias need well-draining soil. If your garden tends to be soggy, add compost, sand, or plant in raised beds.
Forgetting to Add Support Early
Tall dahlias need support to prevent broken stems. The best time to add stakes or netting is right when you plant your tubers — before the plants get big and bushy.
Tips for Growing Healthy, Vibrant Dahlias
Setting your dahlias up for success starts with good soil and care throughout the season:
- Rich, well-draining soil (amend with compost or organic matter)
- Full sun — at least 6–8 hours of direct sunlight a day
- Water deeply once plants are growing (about 2–3 times per week)
- Fertilize every 3–4 weeks with a low-nitrogen fertilizer to encourage blooms
- Deadhead (remove spent flowers) regularly to keep blooms coming
- Watch for pests like aphids, slugs, and earwigs
And there you have it! A comprehensive guide on how to grow dahlias, from selecting the right variety to planting, caring for, pinching

