How to Start Seeds Indoors
A Step-by-Step Guide: How to Start Flower Seeds Indoors
Starting flower seeds indoors can be an exciting and rewarding way to kickstart your garden and get a jump on the growing season. By starting seeds indoors, you have more control over the growing conditions, can select from a wider variety of flower species, and can enjoy the satisfaction of watching your seeds grow into healthy seedlings. In this article, we’ll provide a step-by-step guide on how to start flower seeds indoors and set yourself up for a successful and bountiful garden.
Step 1: Gather Supplies Before you begin, make sure you have all the necessary supplies on hand. Here’s a list of items you’ll need:
- Flower seeds of your choice
- Seed starting trays or pots with drainage holes
- Seed starting mix or potting mix
- Watering can or spray bottle
- Plastic wrap or a clear plastic dome for covering the trays/pots
- Grow lights or a sunny windowsill
- Heat mat (optional)
- Plant labels or markers
Step 2: Choose the Right Seeds Select flower seeds that are suitable for starting indoors. Some flower seeds, such as marigolds, zinnias, and petunias, are relatively easy to grow from seed indoors, while others may require more advanced techniques or specific growing conditions. Choose flower species that are well-suited for indoor cultivation and match your gardening skills and experience level. Consider factors such as light requirements, germination time, and temperature preferences when selecting your flower seeds.
Step 3: Prepare Seed Starting Trays or Pots Fill seed starting trays or pots with seed starting mix or potting mix. Ensure that the containers have drainage holes at the bottom to allow excess water to drain away and prevent root rot. Moisten the mix with water, but do not make it soaking wet. It should be evenly damp, not waterlogged.
Step 4: Sow the Seeds Follow the seed packet instructions for the recommended sowing depth and spacing for the flower seeds you’re planting. Typically, small seeds are sown on the surface of the mix and lightly pressed down, while larger seeds may need to be buried at a certain depth. Place the seeds on top of the damp mix, leaving enough space between them for growth. Avoid overcrowding, as this can lead to poor air circulation and increase the risk of disease.
Step 5: Cover and Provide Proper Lighting Cover the seed trays or pots with plastic wrap or a clear plastic dome to create a greenhouse-like environment that helps to retain moisture and warmth. Place the trays or pots in a warm location with bright, indirect light or under grow lights. Most flower seeds require temperatures between 60-70°F (15-21°C) for germination. If needed, you can use a heat mat to provide bottom warmth, which can help speed up germination for some species.
Step 6: Water and Maintain Proper Humidity Check the moisture level of the seed starting mix regularly and water as needed to keep it evenly moist but not waterlogged. Avoid letting the soil dry out completely or become too saturated. Water from the bottom by placing the trays or pots in a shallow tray of water and allowing the mix to absorb water through the drainage holes. This prevents disturbing the seeds or young seedlings. Keep the plastic wrap or dome on to maintain high humidity, but open it periodically to allow fresh air to circulate and prevent mold or mildew.
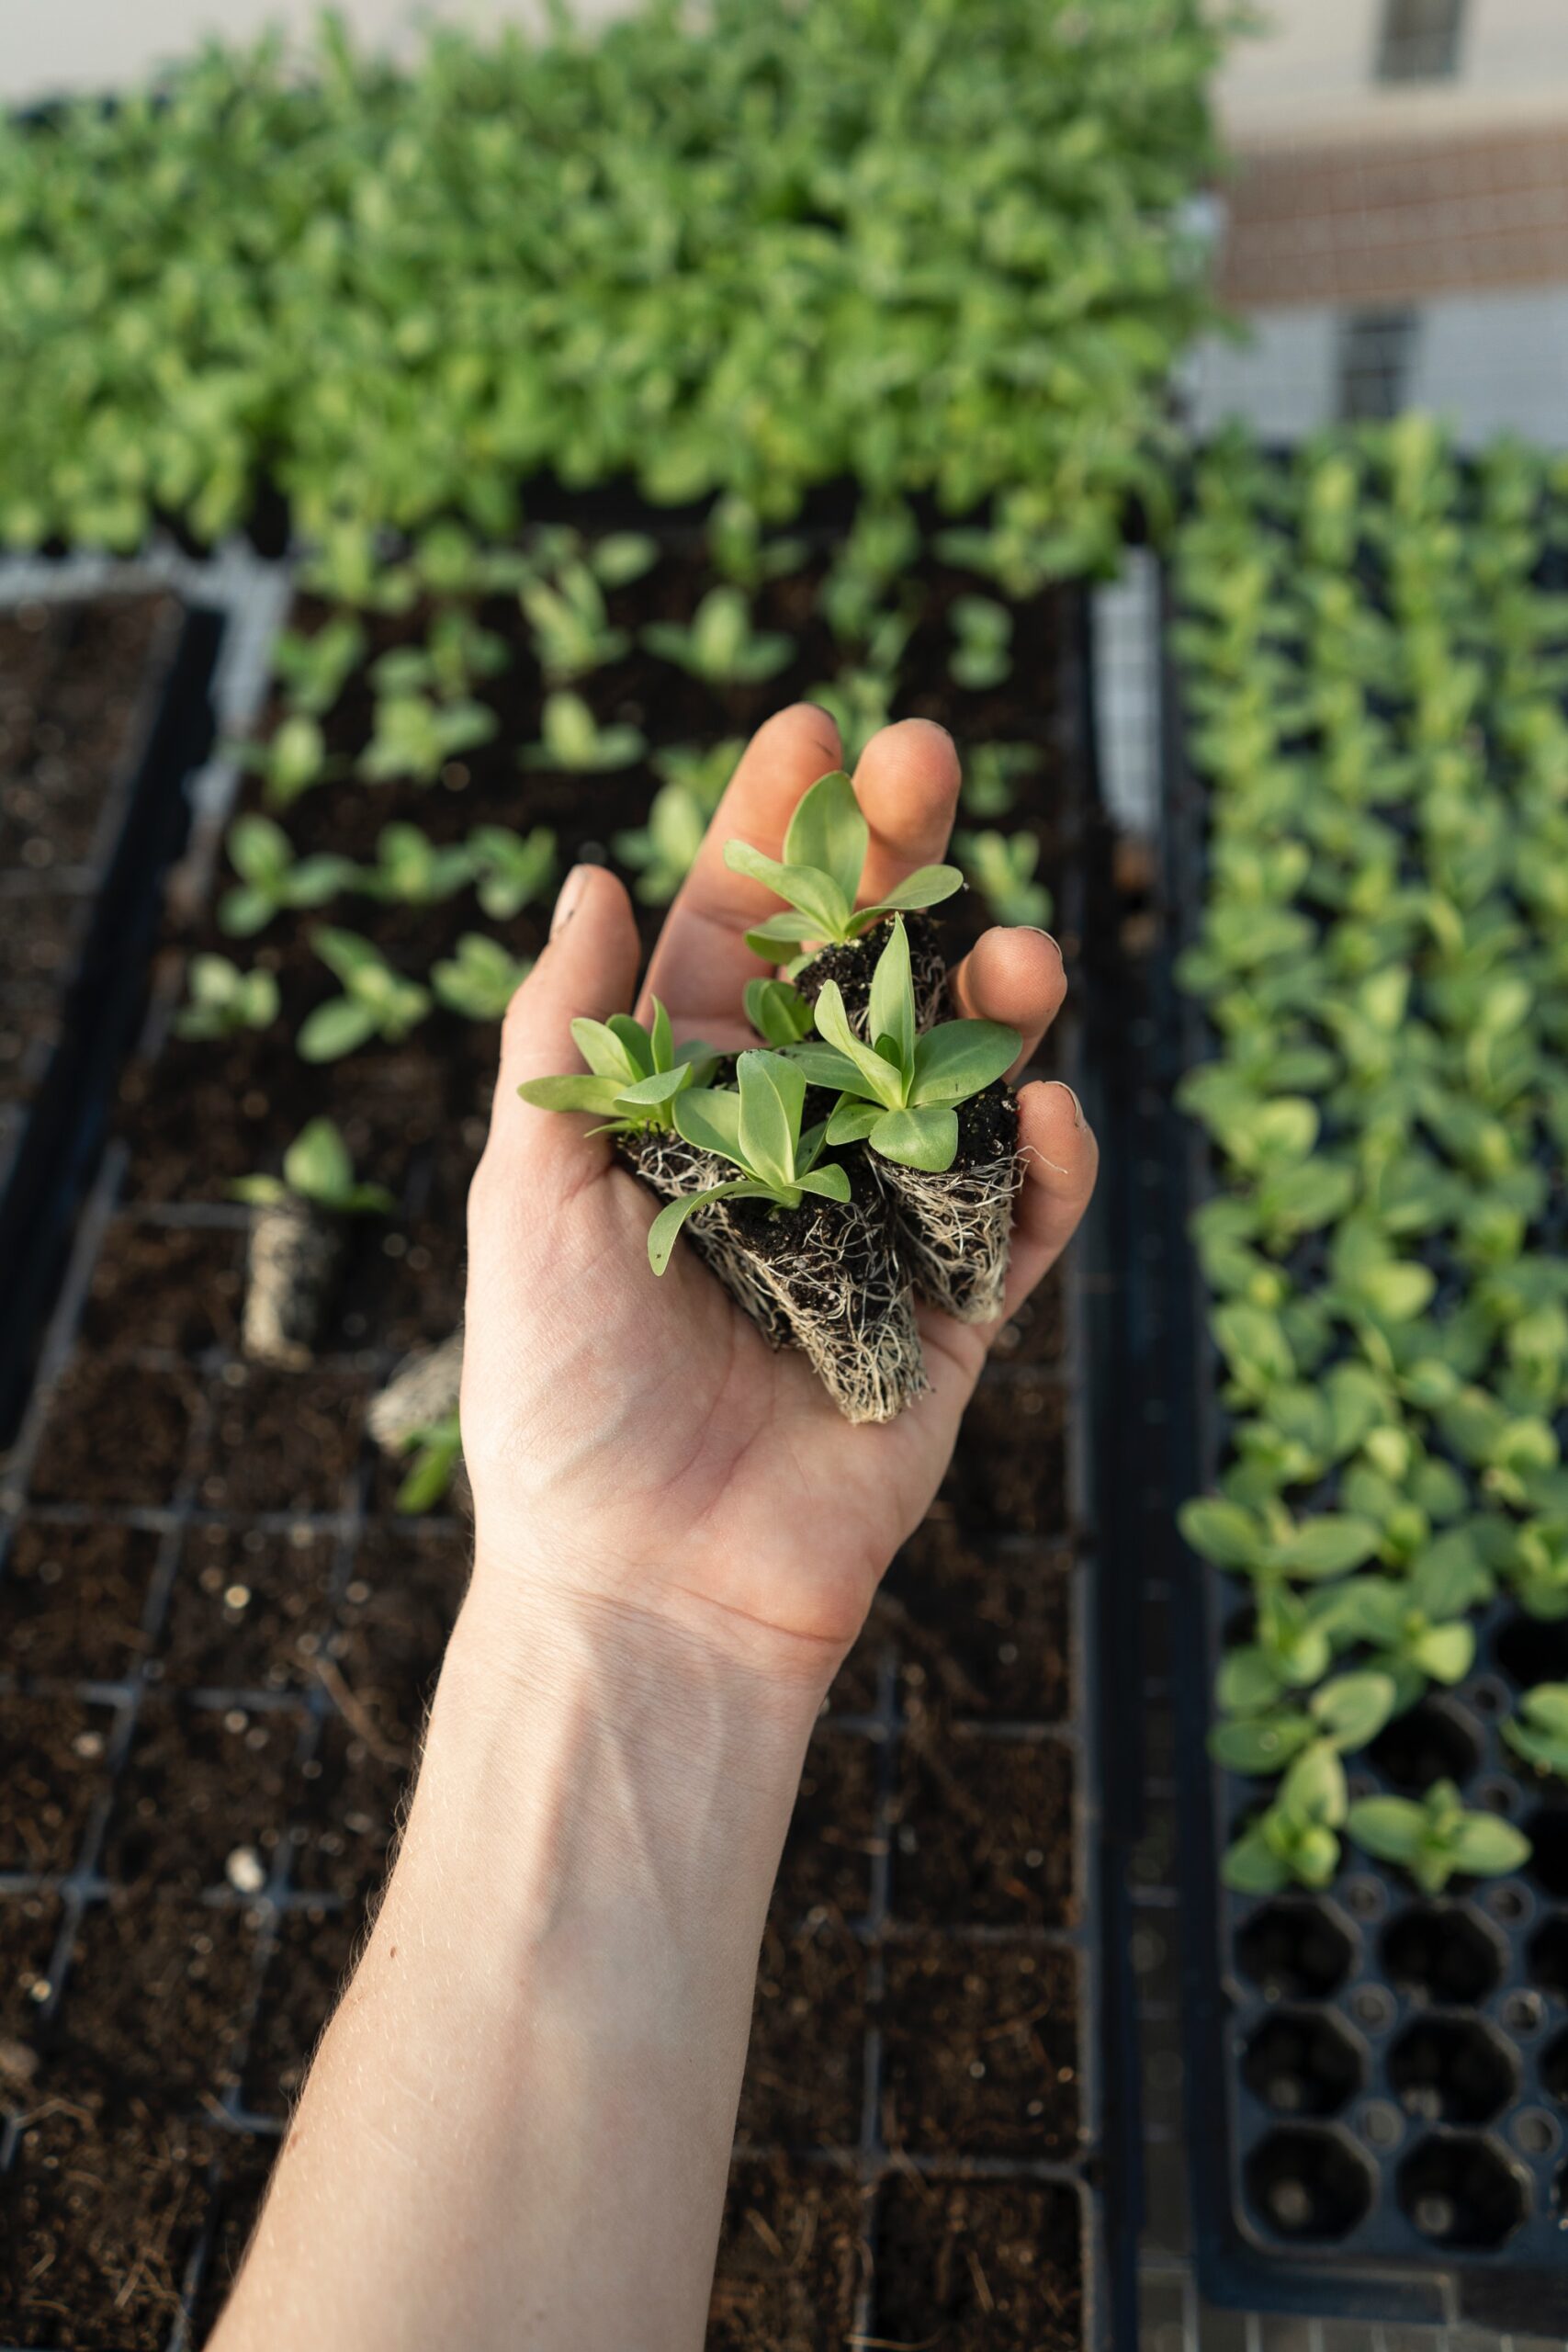
Step 7: Transplant Seedlings Once the seedlings have grown their first set of true leaves and are large enough to handle, it’s time to transplant them into individual pots or cell packs. Carefully lift the seedlings by the leaves or use a dibber to gently loosen the roots from the tray or pot. Plant them at the same depth as they were in the seed starting mix, making sure to avoid burying the stem. Use a well-draining potting mix and water the seedlings thoroughly after transplanting.
Step 8: Provide Adequate Light Place the transplanted seedlings in a location with bright, direct light or continue to use grow lights to provide sufficient light for healthy growth. As the seedlings grow, adjust the height of the grow lights to keep them at the proper distance from the plants, usually around 2-4 inches above the foliage. This will help prevent leggy or weak growth.
Step 9: Harden Off Seedlings About a week before you plan to transplant the seedlings outdoors, start hardening them off by gradually exposing them to outdoor conditions. Begin by placing them in a shaded and protected area for a few hours a day, gradually increasing the time and exposure to sunlight over the course of a week. This helps the seedlings acclimate to the outdoor environment and reduces transplant shock.
Step 10: Transplant Seedlings Outdoors After the seedlings have been hardened off, and all risk of frost has passed, it’s time to transplant them into your garden or containers outdoors. Choose a well-prepared planting site with well-draining soil, and space the seedlings according to the recommended spacing for the specific flower species. Water them thoroughly after transplanting and provide adequate care and maintenance as they continue to grow and bloom.
Starting flower seeds indoors can be a rewarding and cost-effective way to grow a wide variety of flowers in your garden. By following these steps and providing proper care and attention, you can successfully start flower seeds indoors and enjoy beautiful blooms in your garden. Remember to choose suitable flower species, provide adequate light, moisture, and temperature conditions, and harden off seedlings before transplanting them outdoors.
With patience and care, you can achieve success in starting flower seeds indoors and enjoy a colorful and vibrant garden. Happy gardening!